How to Take Long Exposure Photos
Here we are, back in Geneva to talk about long exposure. As you know, I particularly enjoy long exposures because they require the photographer to be creative. One must strive to search for new angles and new compositions... long exposure doesn't stand on its own!
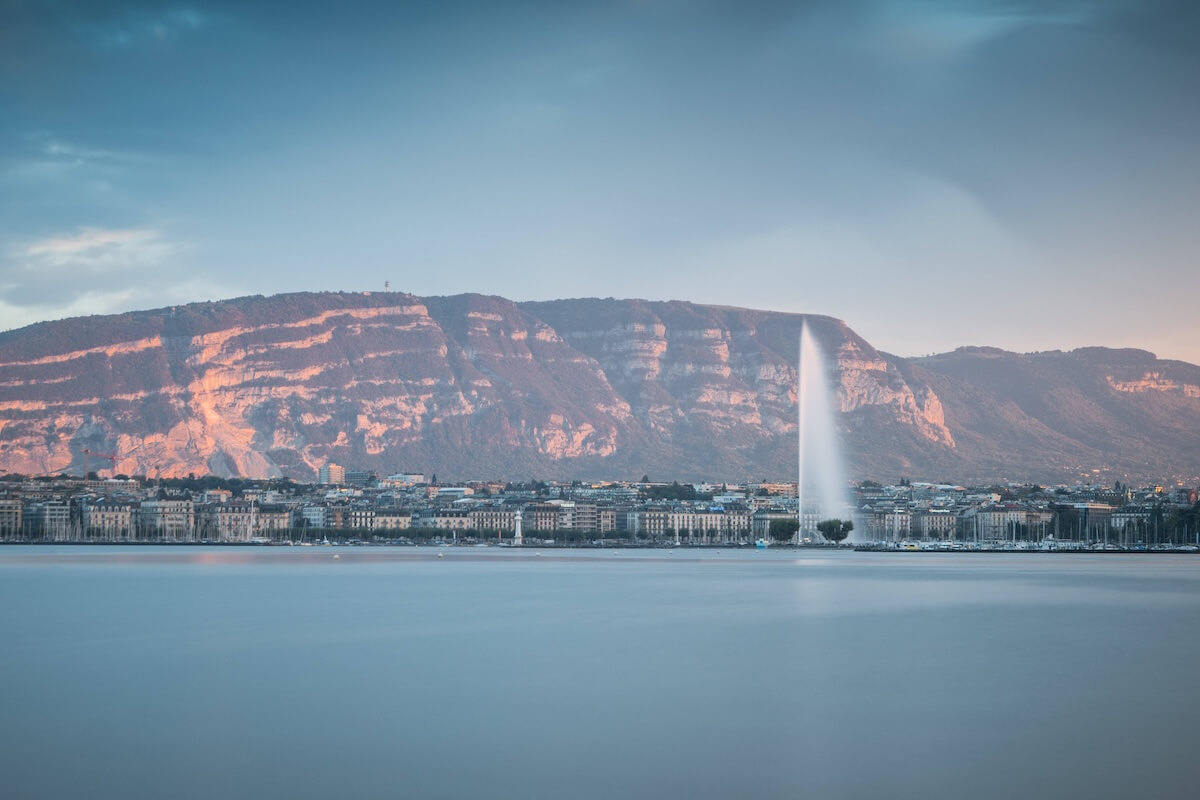
The very first long exposures I made were taken at Perle du Lac, on the shores of Lake Geneva. It's a prime location for photographers, as it offers beautiful views of the Alps and Geneva's harbor with its emblematic Jet d'Eau. I took these photos on a cloudy day in October 2018. The conditions were favorable with fast-moving clouds and some small waves on the lake. The cherry on top: the Jet d'Eau was working that day!
In light of this experience, I'd like to share with you my thoughts and tips on how to do long exposure without overthinking it. Basically, what you need for daytime long exposure is:
Essential Equipment
- A tripod
- A camera
- A neutral density (ND) filter (in my case, a Hoya ND1000 filter)
- Optional: a remote control (or phone) to take the photo
Step-by-Step Tutorial
Long exposure photography might seem complex at first, but once you familiarize yourself with the process, it becomes child's play! Here's my proven method for capturing stunning long exposure images:
- The first thing you need to do is make sure your tripod is stable. Without this, the camera could move, resulting in blurry images.
- Once you're sure your tripod is firmly anchored to the ground, place your camera on the tripod. Again, to reduce the risk of blur, disable your camera's optical image stabilization (OIS) function, as it's useless since the camera is on a tripod.
- Next, switch to Aperture mode (A on the mode selector) and try to find a composition you like. Use the autofocus to lock the focus, or switch to manual focus (MF). With manual focus, simply turn your lens's focus ring to fine-tune the focus. To ensure you've achieved excellent focus, use your camera's 'focus peaking' function. This feature magnifies the image and shows coloured lines to indicate whether the photo is sharp.
- Take note of the shutter speed given by your camera. Open the Lee Stopper app on your phone to automatically calculate the shutter speed you'll need with the type of ND filter you've chosen.
- Once focused, put on the ND filter and don't touch your composition.
- Switch to Bulb mode (B on the mode selector, if available). If your camera does not have these options on the mode selector, simply switch to Manual mode and lower your shutter speed until you reach Bulb mode. Then, set yourself to the shutter speed given by the Lee Stopper app. If you're at sunrise, plan for a slightly faster shutter speed, as there will be more and more light in the scene. If you're at sunset, opt for a slower speed, since the amount of light decreases.
- Use your camera's self-timer (typically 2 seconds) to take the photo. You can also use your remote control (or your phone if your camera can be connected to it).
- That's it!
Creative Considerations
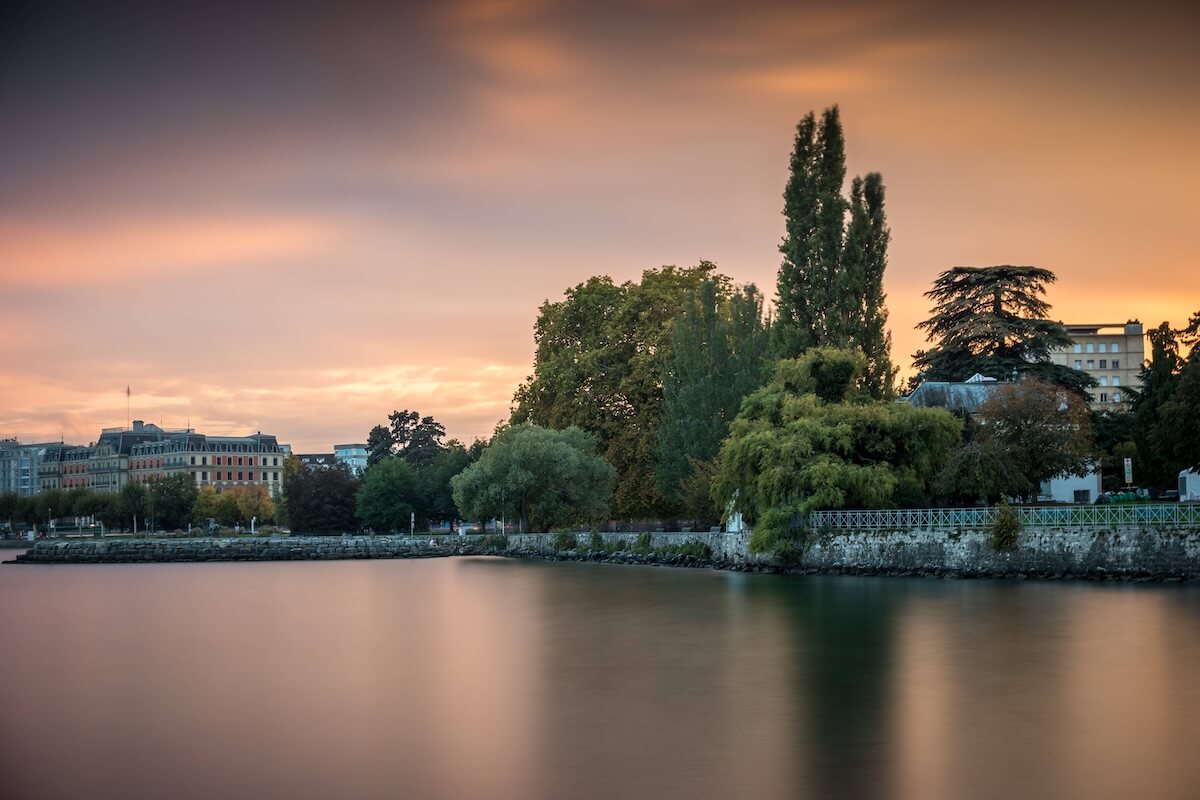
What makes long exposure photography particularly rewarding is how it transforms the ordinary into the extraordinary. The movement of clouds becomes visible streaks across the sky, while the gentle lapping of waves turns into a smooth, glass-like surface. At Perle du Lac, these effects are especially pronounced due to the consistent wind patterns and the lake's natural movement.
The key to successful long exposure isn't just technical—it's about developing an eye for potential movement in your scene. Look for elements that will change over time: clouds, water, people walking, or even swaying vegetation. These moving elements will create the visual interest that makes your long exposure compelling.
Why Perle du Lac Works So Well
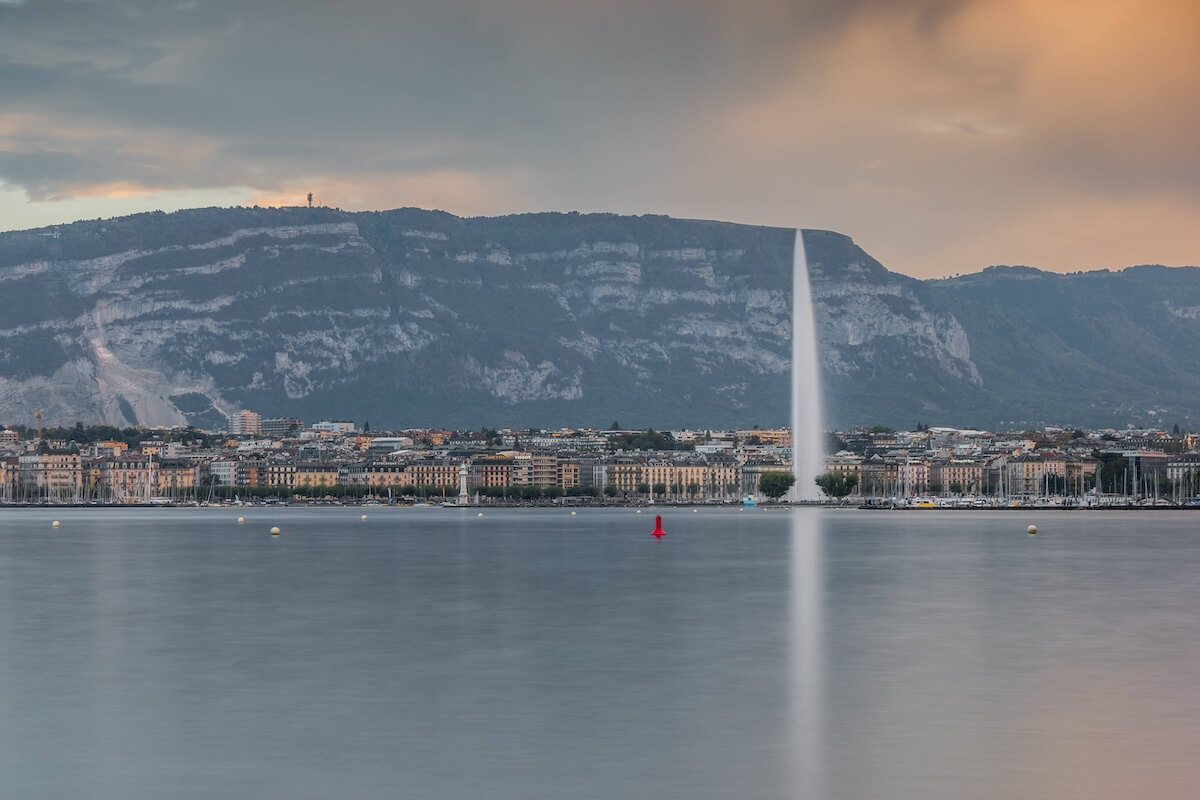
Perle du Lac offers several advantages for long exposure photography. The unobstructed view across Lake Geneva means you can capture the full drama of cloud movement across the sky. The foreground rocks and shoreline provide stable reference points that contrast beautifully with the smoothed water and sky. Plus, the iconic Jet d'Eau adds a recognizable Geneva landmark to your compositions when it's operational.
The location is also easily accessible, making it perfect for those learning long exposure techniques. You can spend time experimenting with different compositions without the pressure of a difficult hike or limited access time.
This may seem complicated at first, but once you've familiarized yourself with it, long exposure becomes child's play! The most important elements are patience, practice, and being prepared to wait for the right conditions. Remember, each long exposure is unique—the ever-changing sky and water ensure that no two shots will ever be exactly the same.
Follow My Journey
Let's stay in touch — I'll share stories from my latest shoots, upcoming projects, and the little adventures that shape my photography. As a subscriber, you'll also get early access to special offers and exclusive content I don't share anywhere else.